Beginner’s Guide: Rebuilding a Personal Blog with Hugo and Vercel
I share my step-by-step journey of revamping my website, using Hugo, GitHub, and Vercel.
- Carrie
- 6 min read
Once a website is live, updating and revamping it becomes an essential task for every webmaster. Whether it’s improving user experience, boosting performance, adding new features, or fixing bugs, regular updates are key to staying competitive.
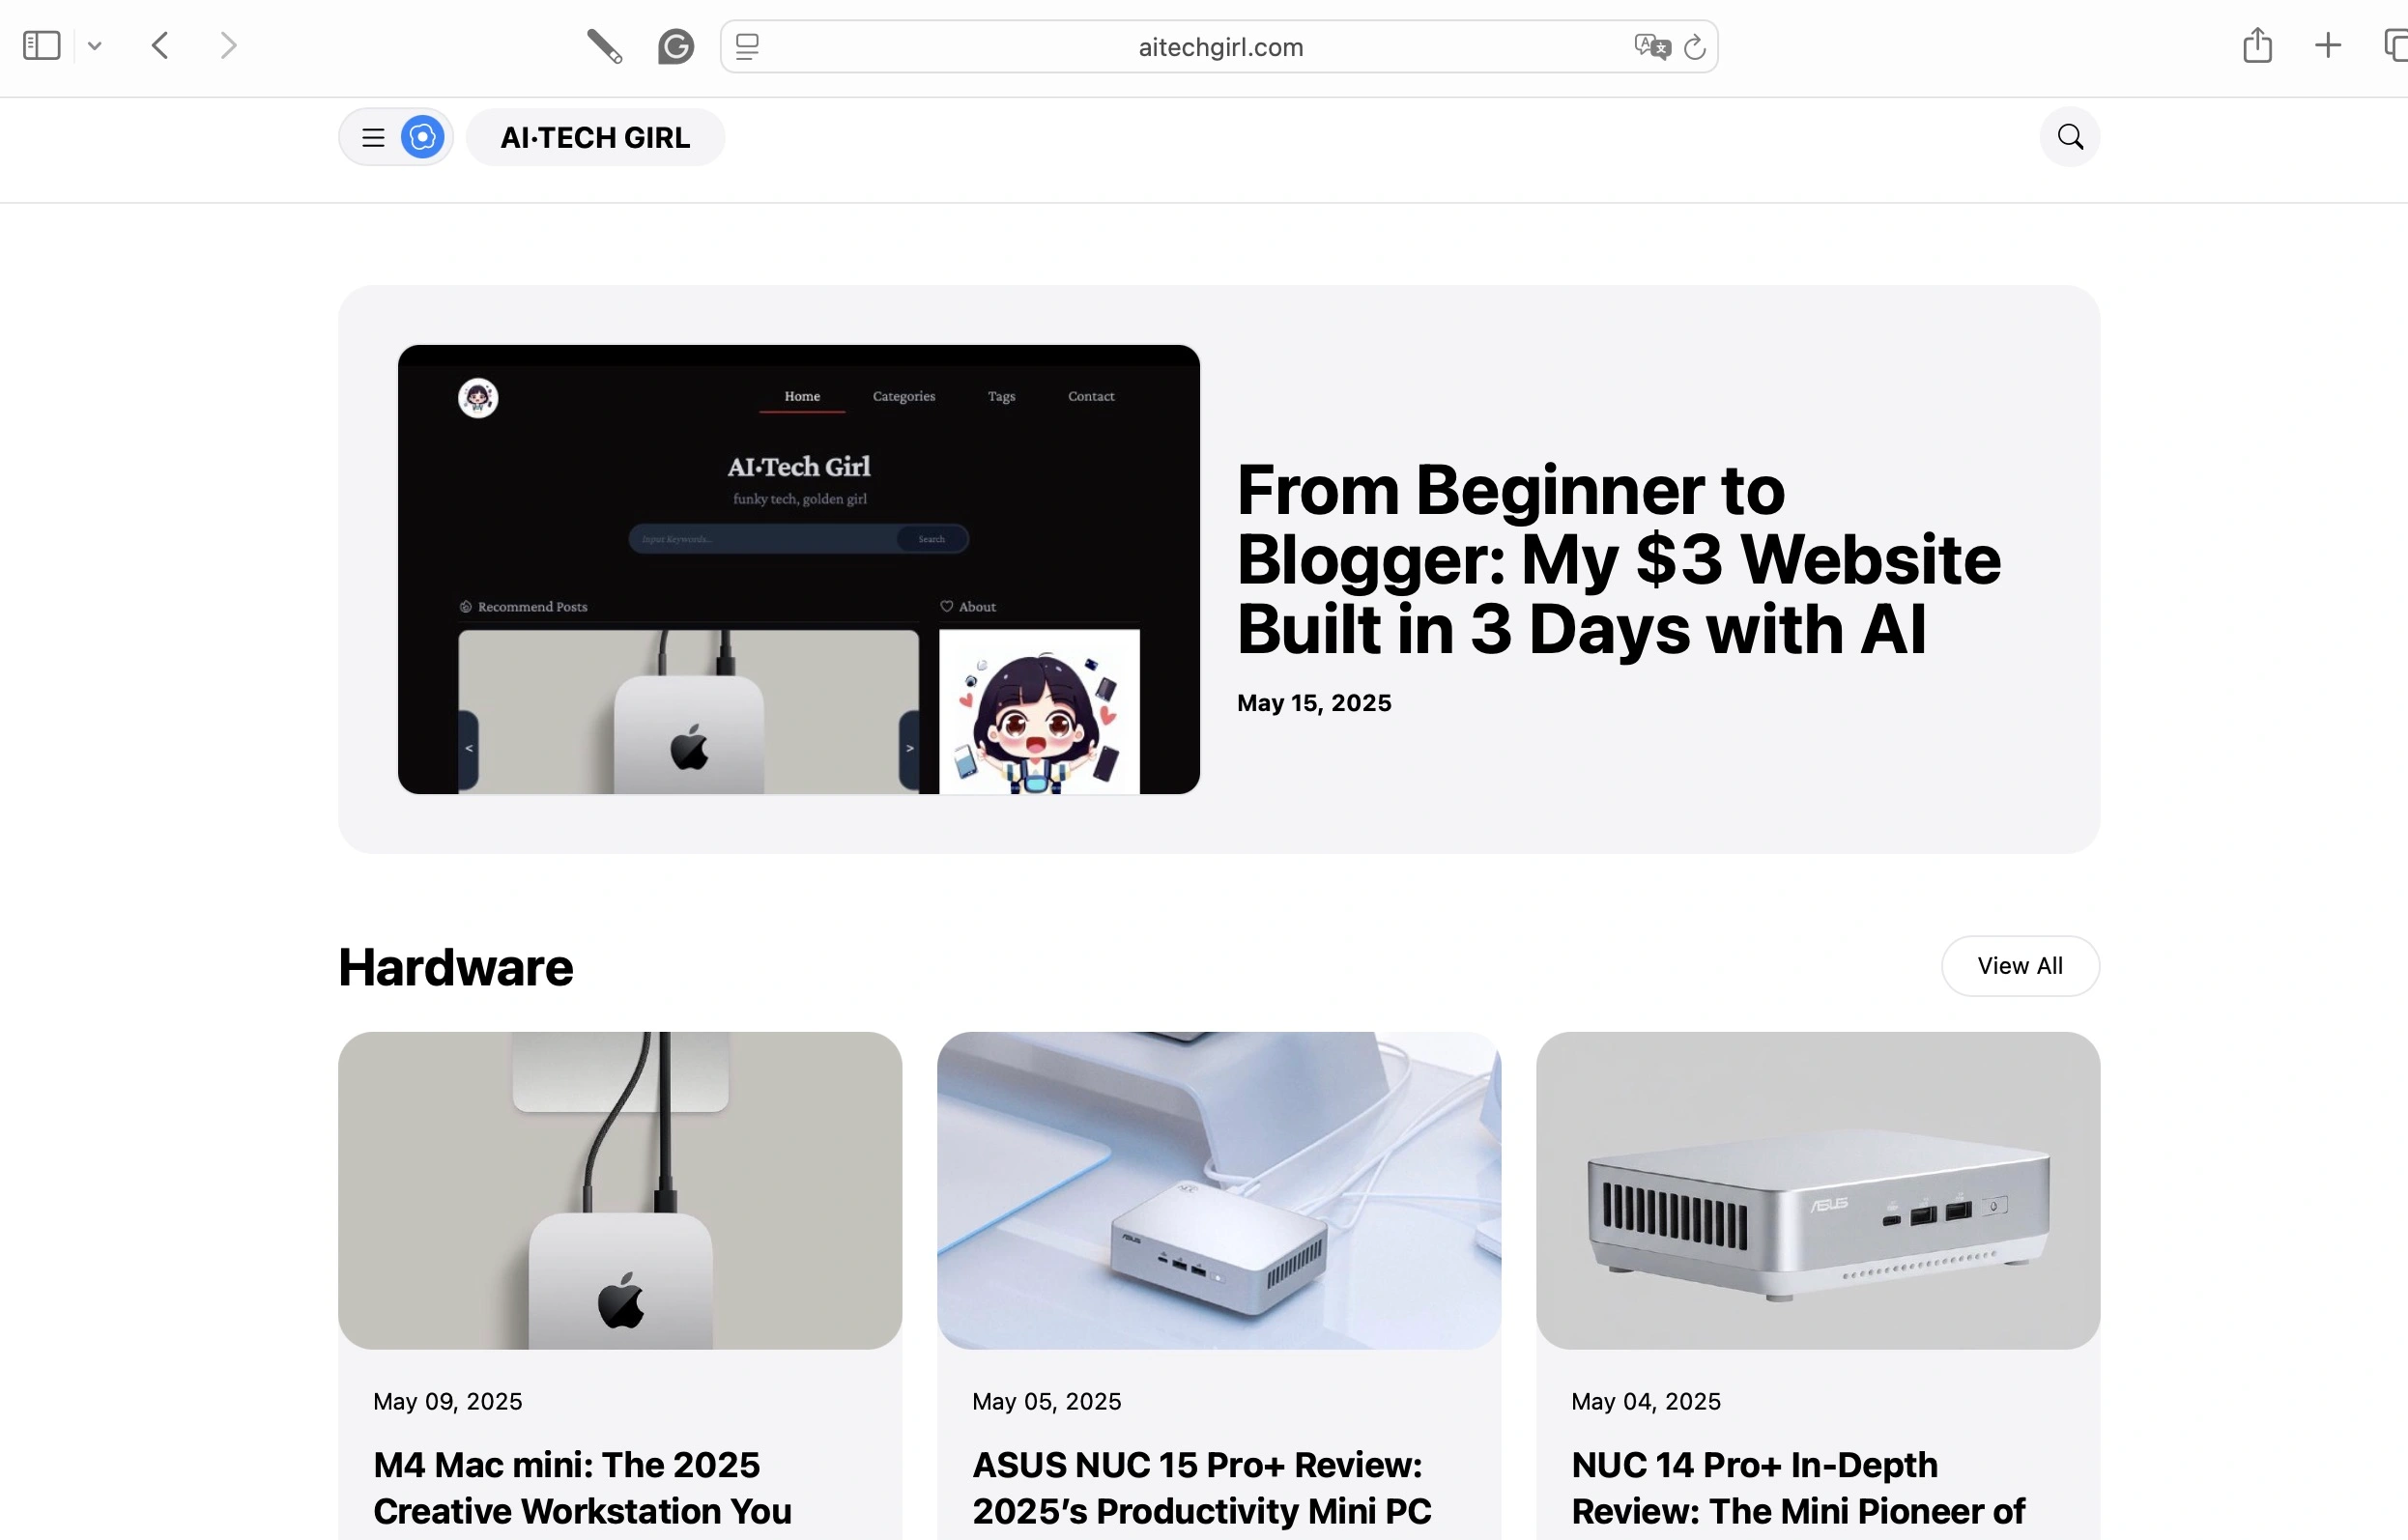
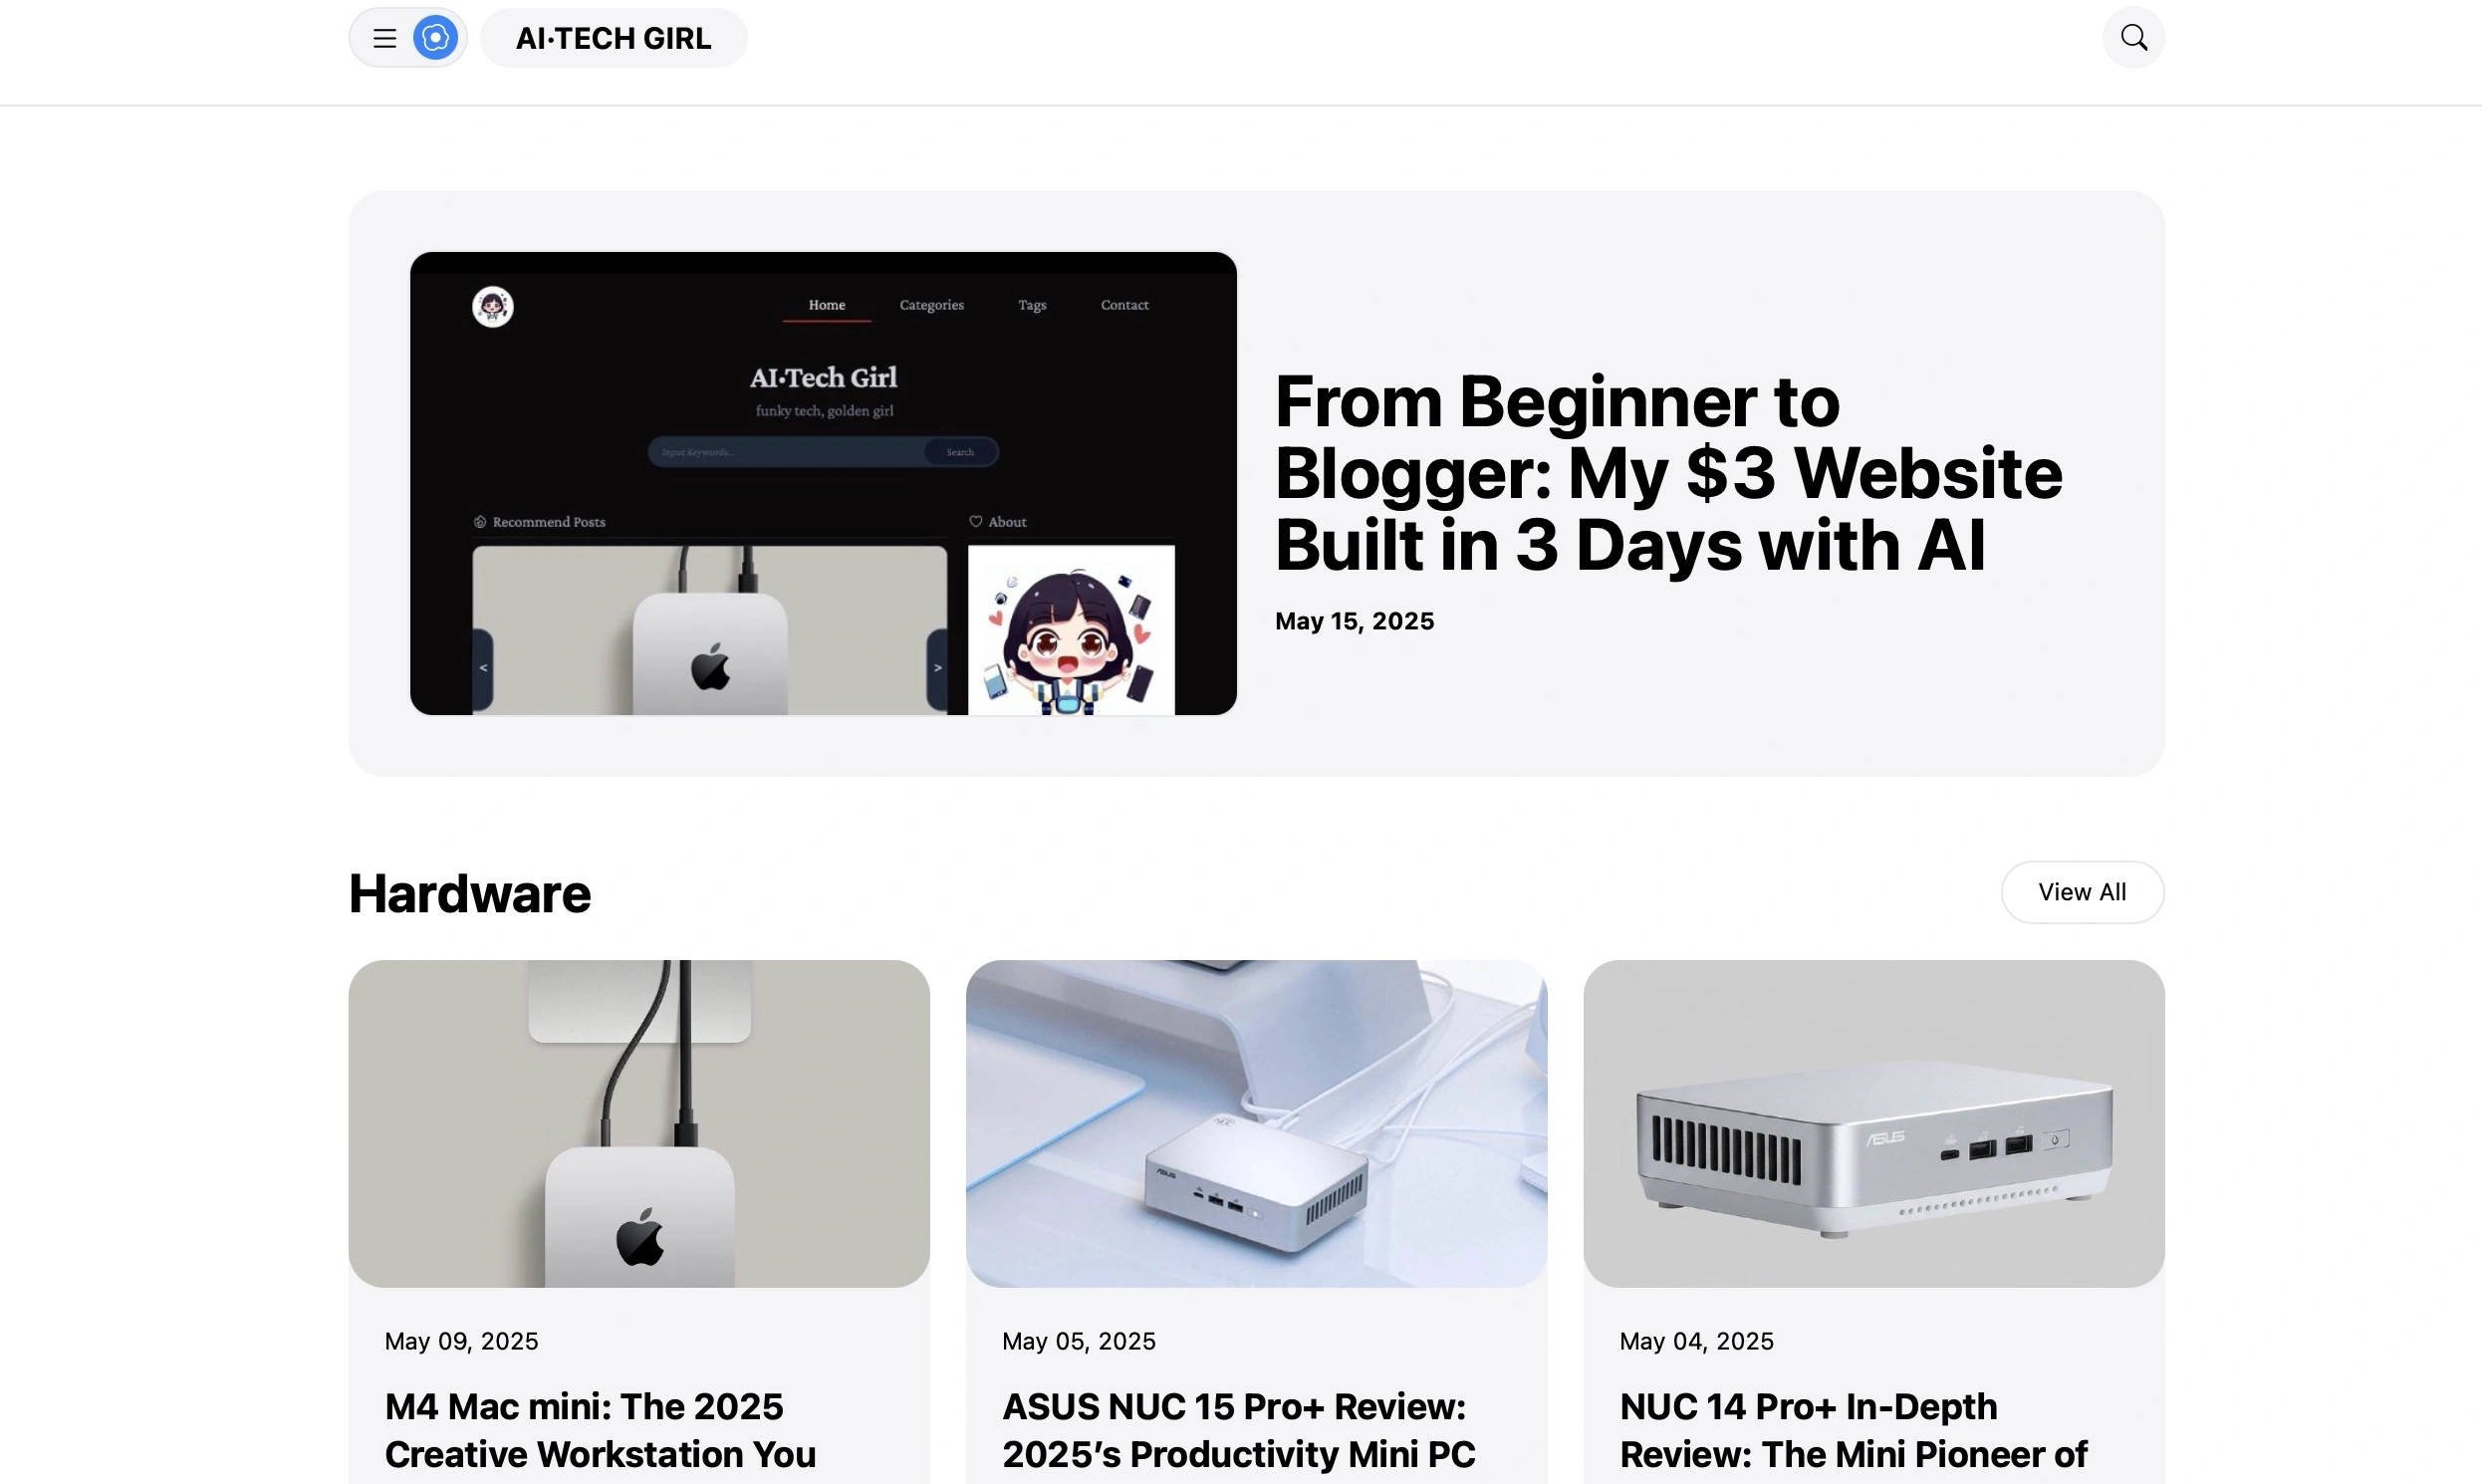
After launching the first version of my website, I noticed some minor issues with the template’s functionality that I couldn’t fix with my current skills. Plus, after using it for a while, I felt the layout wasn’t clean or visually appealing enough. So, I decided to switch to a new template—essentially giving my website a fresh “skin.”
This article details my process of updating my Hugo website by switching templates, sharing the entire journey from my perspective.
Two Approaches to Website Revamping
Choosing the right approach is critical when revamping a website.
If the existing website’s structure and functionality mostly meet your needs, you can tweak the code directly on the current template. However, if the gap between the current structure and your new requirements is significant, it’s often better to start fresh and rebuild the entire site.
In short, there are two methods for website revamping:
- Method 1: Modify the code directly on the existing template.
- Method 2: Redeploy a brand-new Hugo project.
Since my website was already live and I wanted to make extensive changes—from functionality to page layout—I was concerned that tweaking the existing template might lead to errors or bugs if I wasn’t careful.
After much thought, I decided that making incremental changes wasn’t worth the hassle. Instead, I opted to switch to a new template that better suited my needs, abandoning the old project code entirely.
Below, I’ll share the process of using the second method—redeploying a new Hugo project.
This process is almost identical to building a website from scratch. I used the Hugo + GitHub + Vercel stack again, treating this as a chance to revisit the website-building workflow.
Creating a New Hugo Project
While setting up this new Hugo project, I couldn’t help but think that this approach would be useful in the future if maintaining code becomes too complex, fixing bugs gets tedious, or I need a major website overhaul. Hugo’s flexibility makes building static websites quick and convenient.
It’s like mending an old outfit versus just getting a brand-new one, right?
1. Creating a New Hugo Project
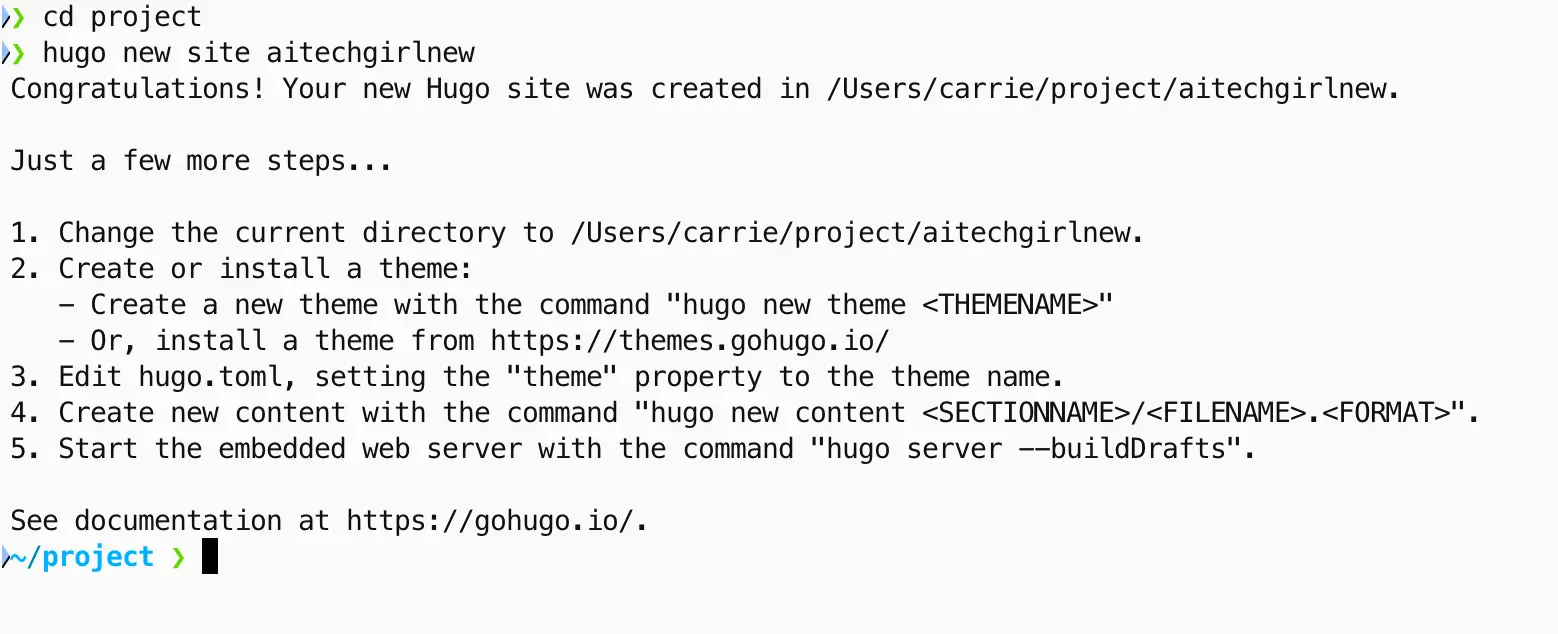
To distinguish it from my previous project, “aitechgirl,” I named the new project “aitechgirlnew.” In the terminal, I ran the following command to create a new Hugo project:
hugo new site aitechgirlnew
I use iTerm, and the command line output showed the five steps of setting up a Hugo project, which are straightforward. Let’s review them:
- Create a Hugo project
- Choose a theme
- Configure theme settings
- Create new content
- Preview locally
2. Choosing a Theme
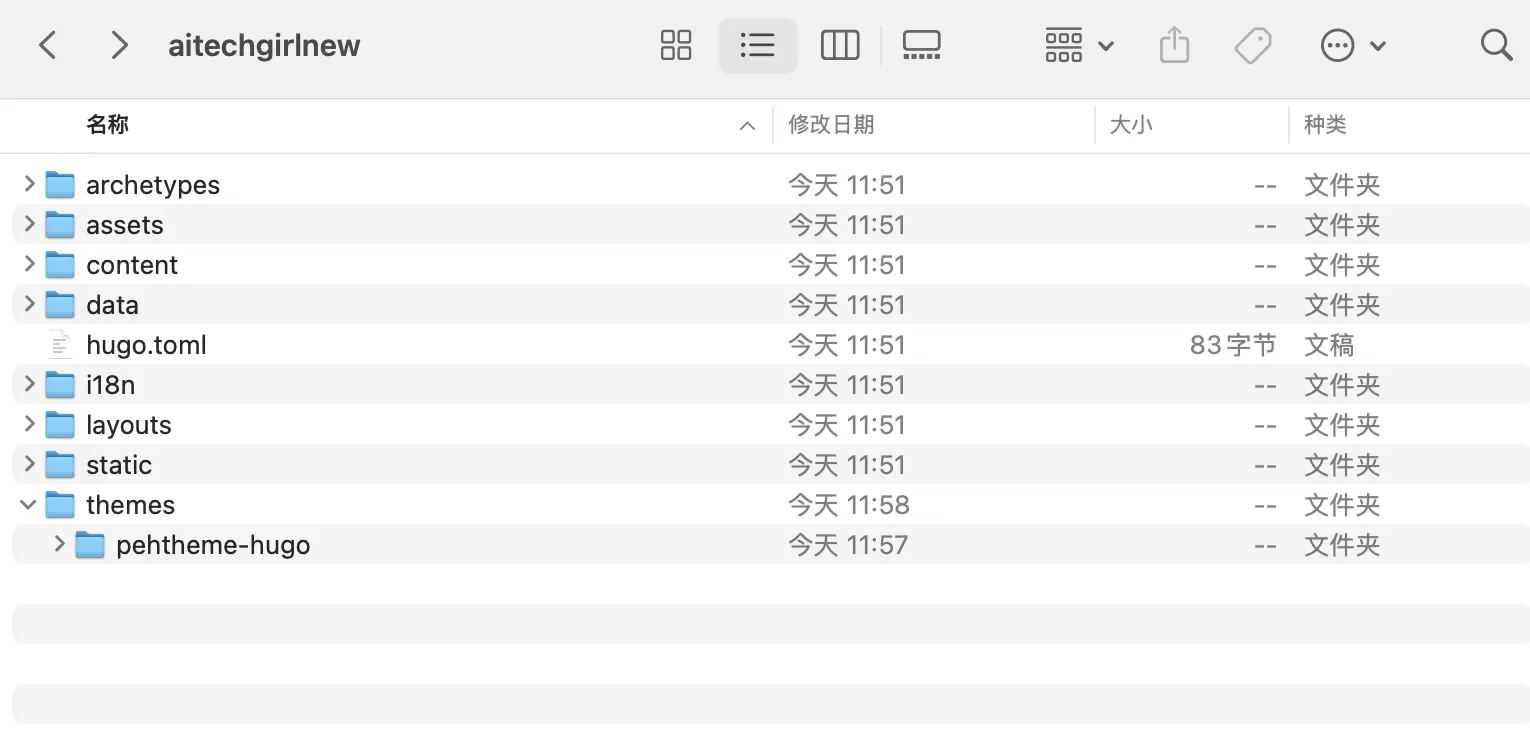
I browsed Hugo Themes and selected the pehtheme theme for this project. To install it, I ran:
git clone https://github.com/fauzanmy/pehtheme-hugo.git
After cloning the theme into my project folder, the theme appeared in the themes directory:
3. Configuring Theme Settings
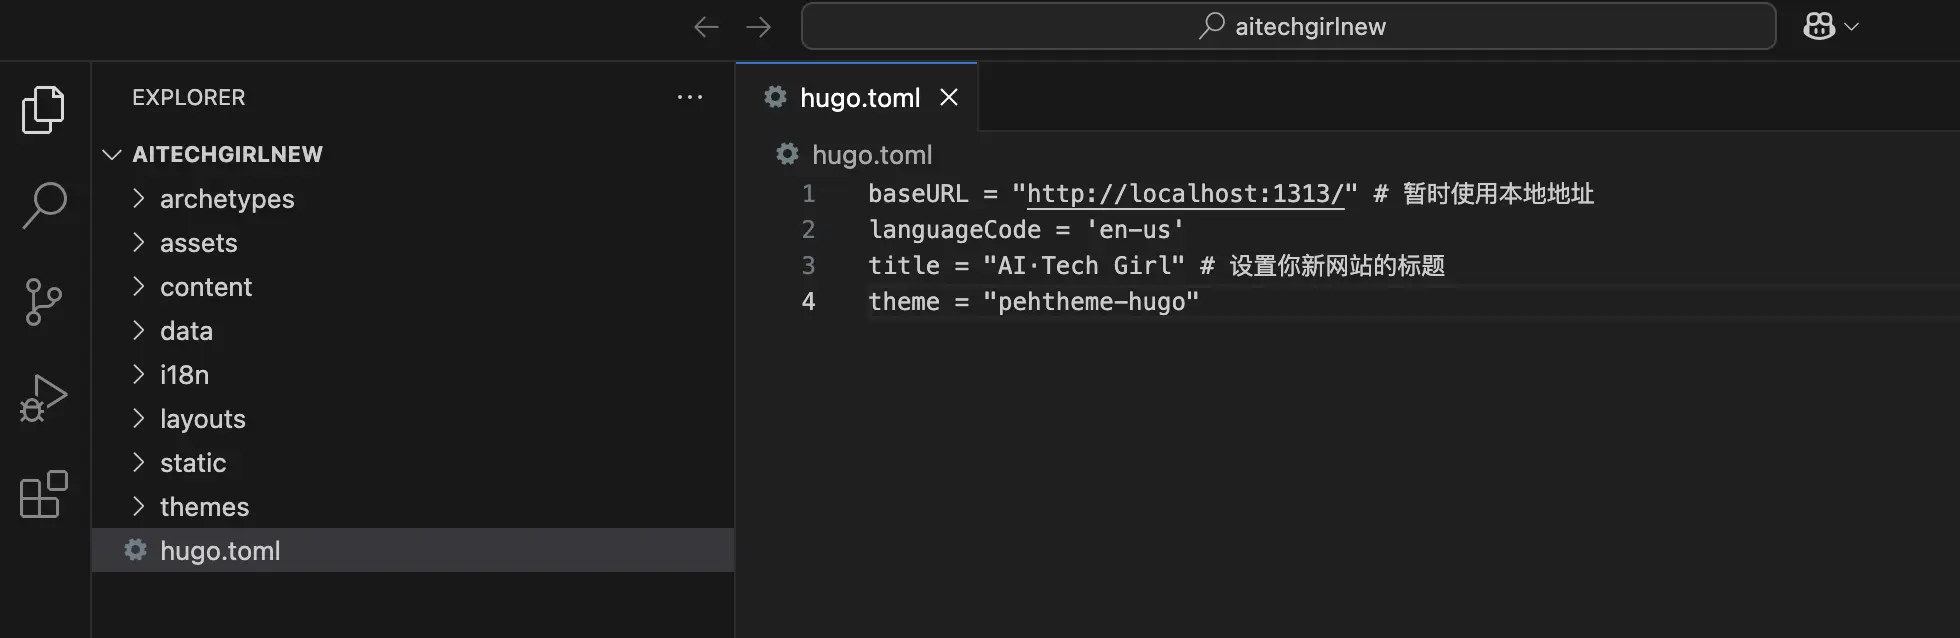
A new Hugo project comes with a default hugo.toml file, which is used to define the project’s settings. Here, I specified the theme name:
theme = "pehtheme"
I also customized the hugo.toml file based on the theme’s example settings, tailoring it to my website’s needs. For local previews, I set the baseURL to:
baseURL = "http://localhost:1313/"
This is Hugo’s standard local preview URL, allowing me to see real-time changes.
4. Adding Content
In the new project, I created a Markdown file for new content using this command:
hugo new posts/my-first-post.md
If you have existing content from your previous website, you can copy the content folder into the new project. However, ensure the content structure aligns with the new theme. For example, my previous site had language-specific folders like /en/ and /zh/, so I verified compatibility with the new theme’s structure.
5. Local Preview
Once the setup was complete, I ran Hugo’s built-in server to preview the site:
hugo server
This allowed me to view the website locally and check the results.
Setting Up a New GitHub Repository and Hosting Code
Whether you’re tweaking code or redeploying a new project, proper code management is crucial. Here’s how I set up a new GitHub repository:
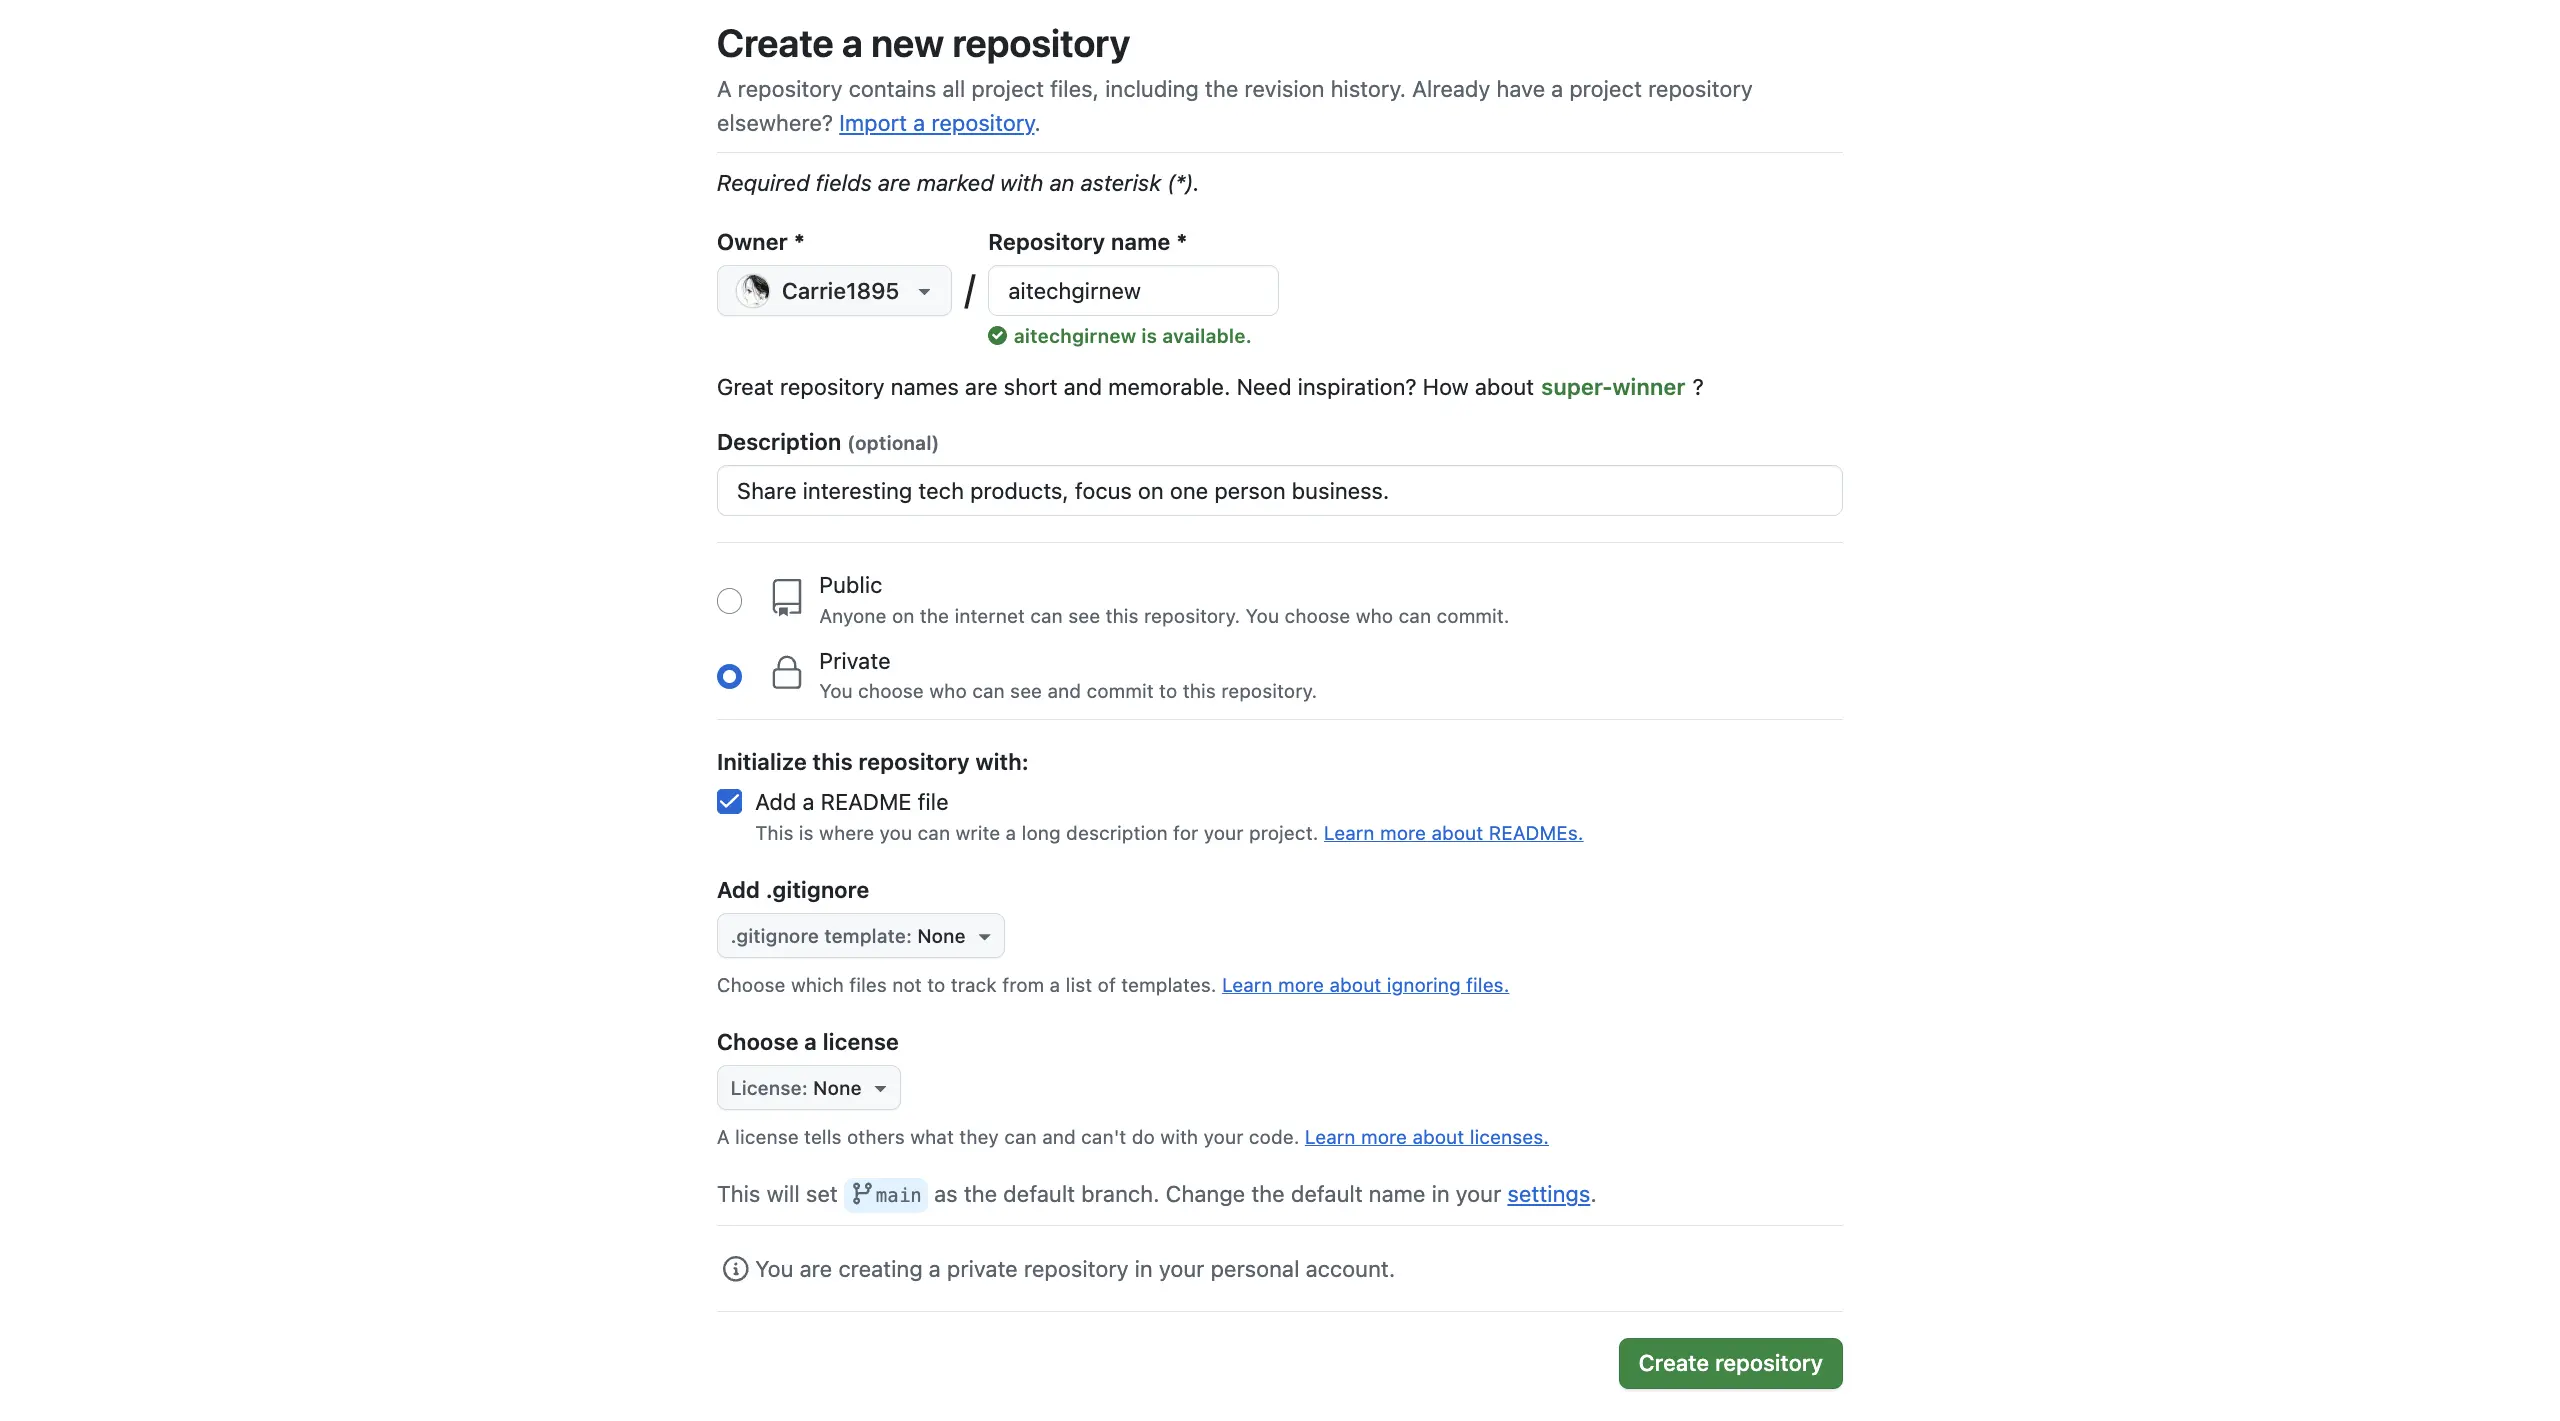
1. Creating a GitHub Repository
I logged into my GitHub account and clicked the green New Repository button on my profile page.
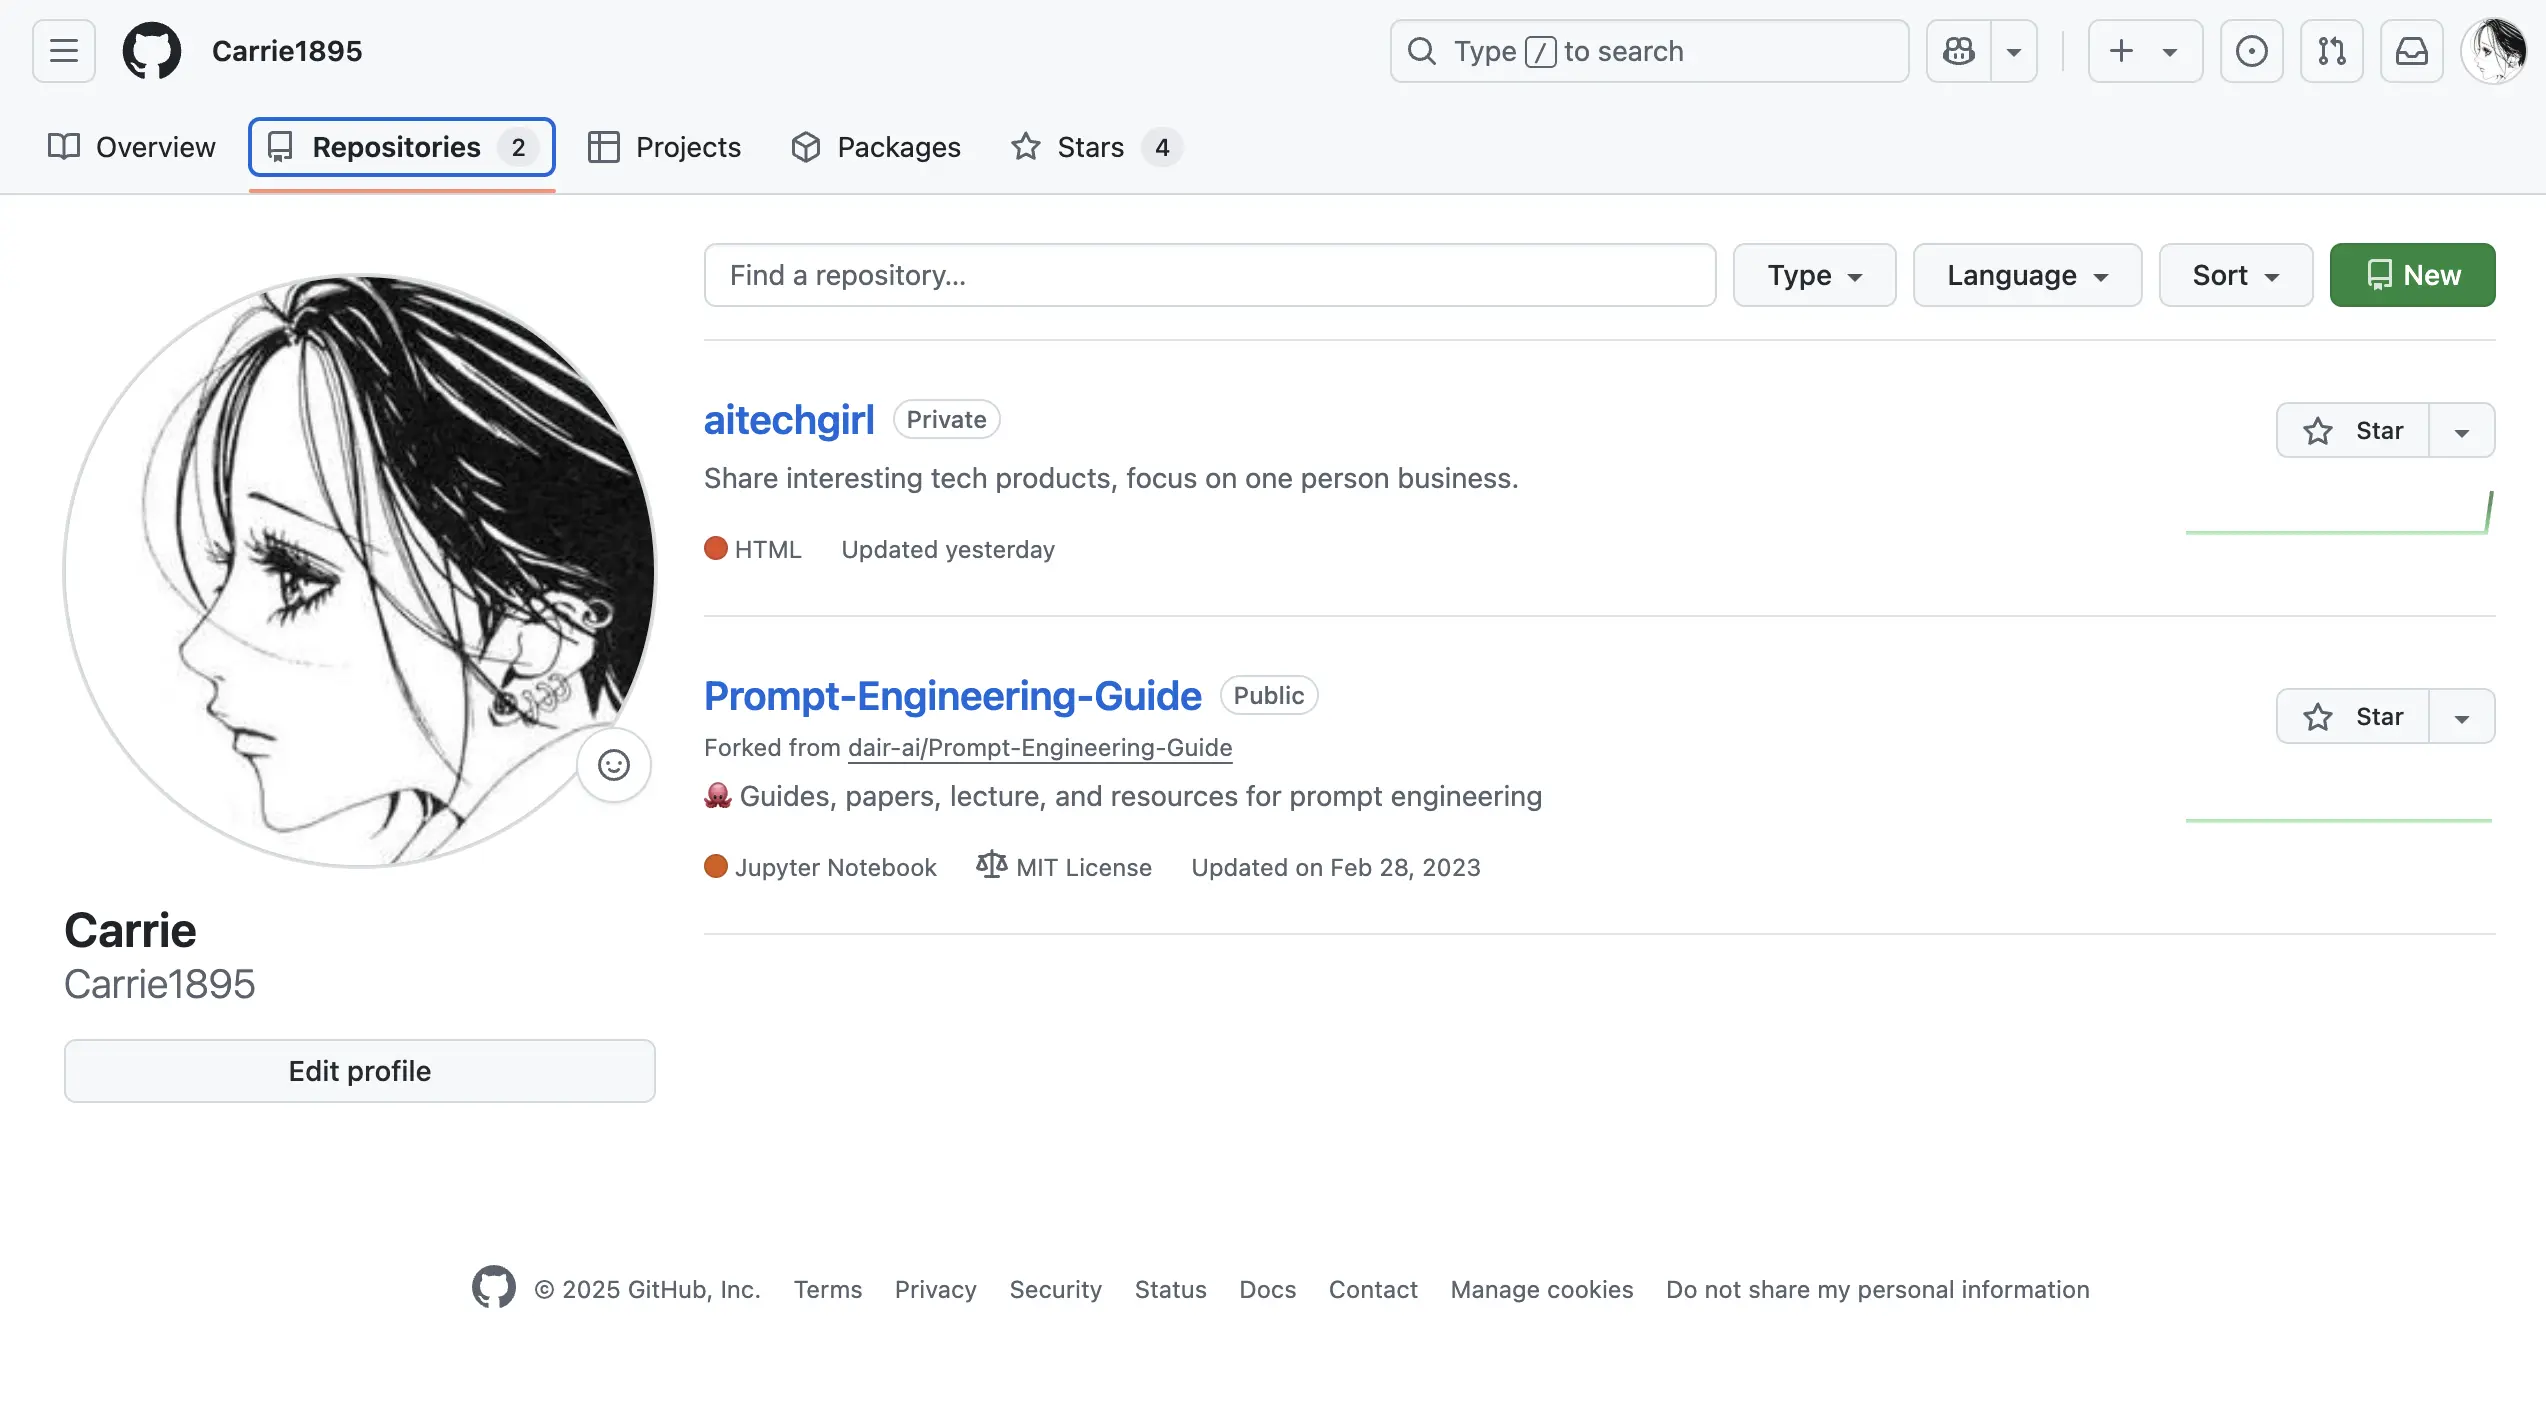
I named the new repository “aitechgirlnew,” added an optional description, and completed the creation process.
2. Pushing Code to GitHub
I pushed my local project to the new Git Production-grade software engineering practices would dictate using a branching strategy for development and deployments, but for the sake of this tutorial I will be pushing directly to the main branch:
git init
git remote add origin https://github.com/Carrie1895/aitechgirlnew.git
git branch -M main
git push -u origin main
This uploaded my new project’s code to the GitHub repository.
Creating a Vercel Project and Binding a Domain
Vercel is a powerful platform for hosting static websites like those built with Hugo. Since I was working with a new Hugo project and a new GitHub repository, I needed to create a new Vercel project for deployment.
Here’s how I did it:
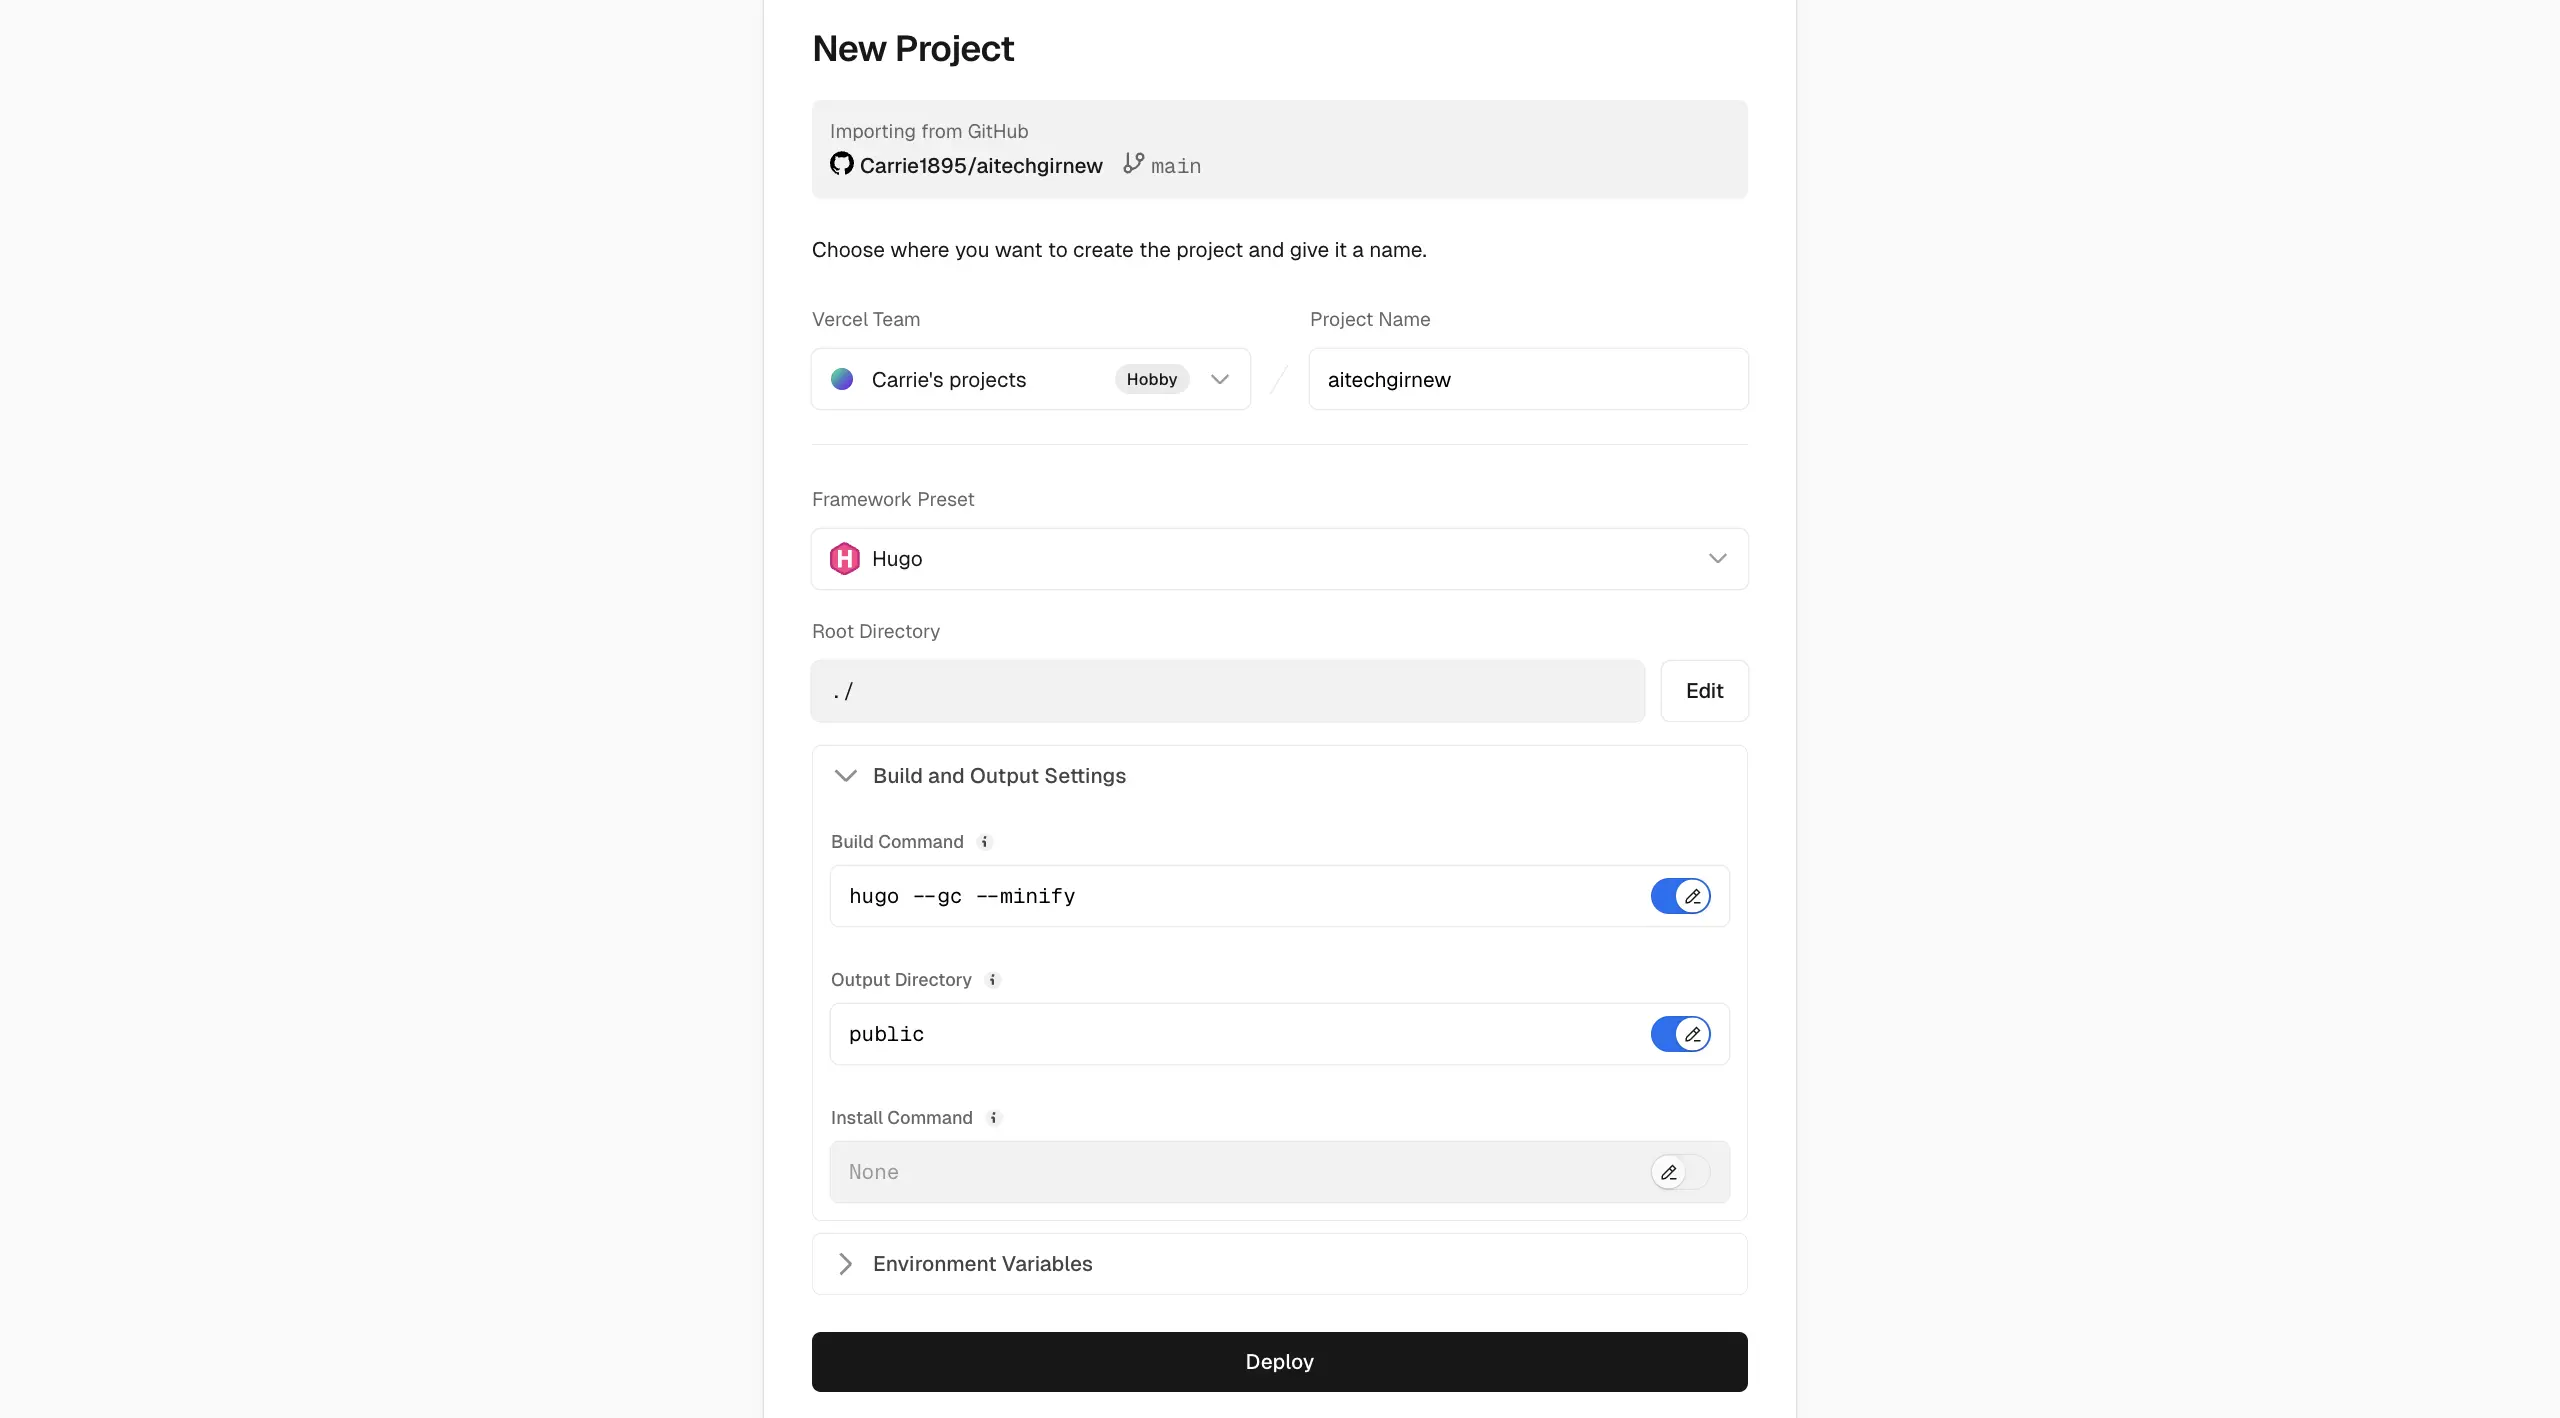
1. Creating a Vercel Project
- I logged into the Vercel website.
- Clicked New Project and selected my new GitHub repository.
- Followed the prompts to configure and clicked Deploy.
2. Checking the Temporary Domain
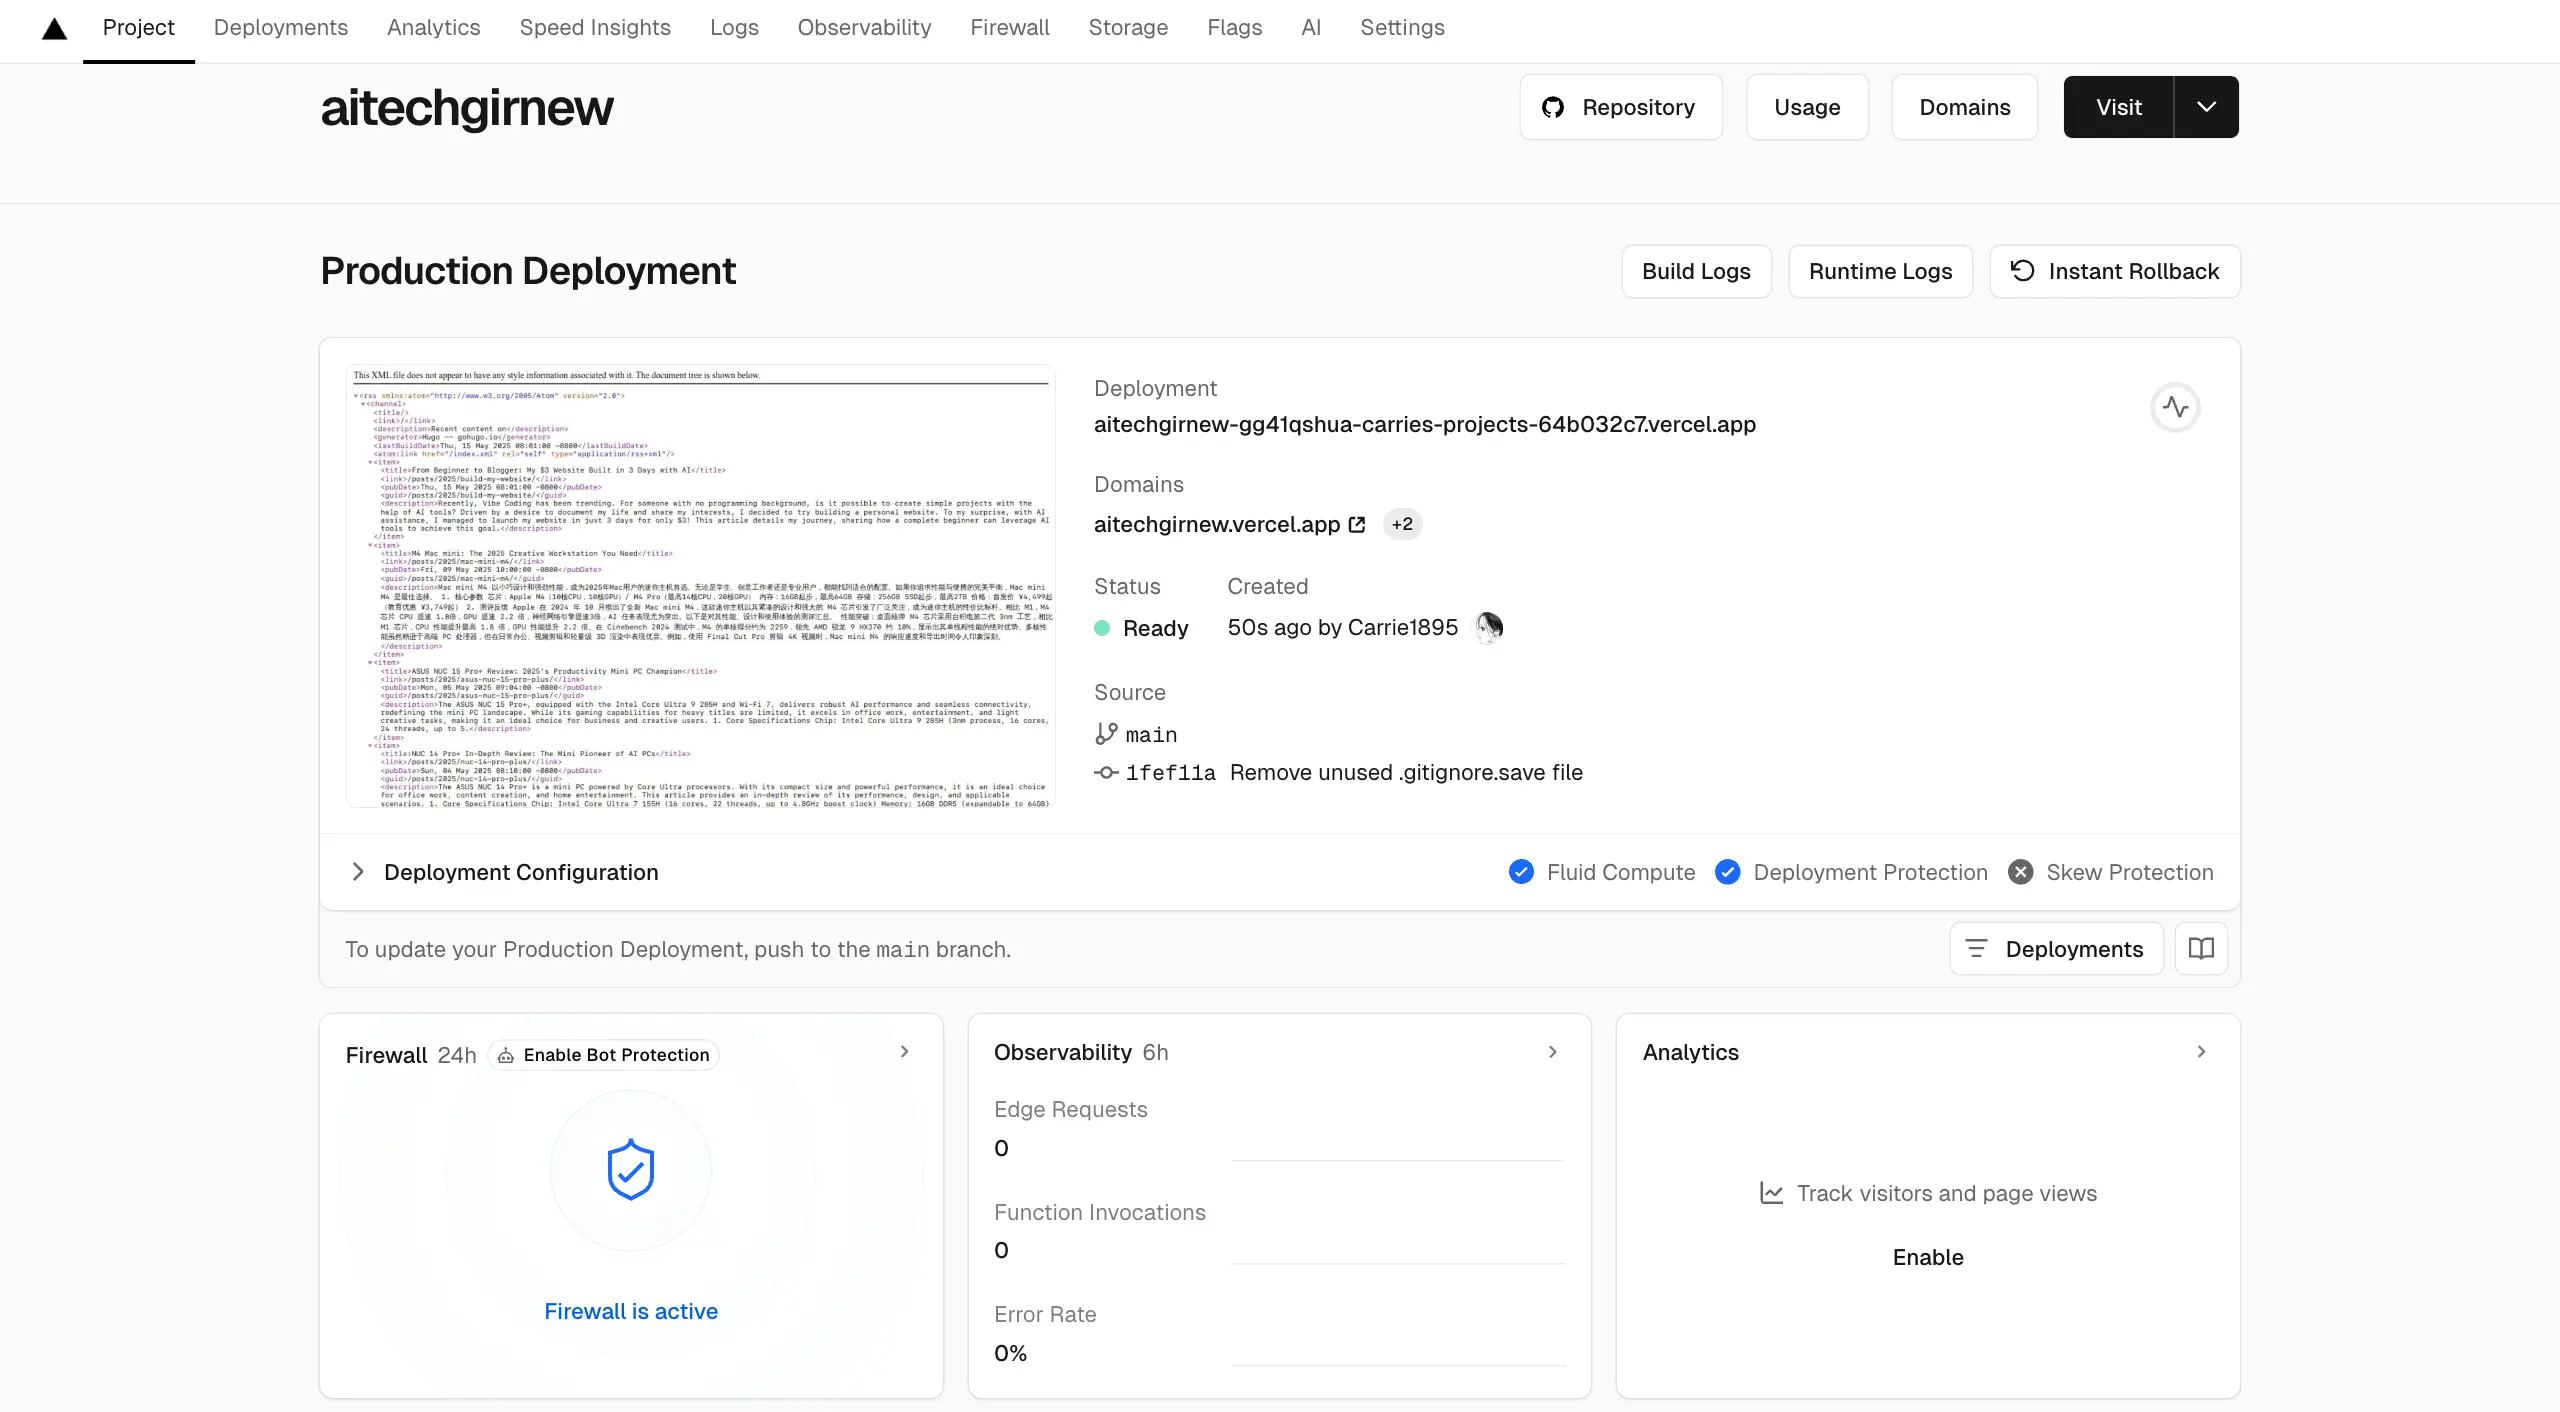
After deployment, Vercel generated a temporary domain, https://aitechgirnew.vercel.app/. I visited it to ensure the website matched my local preview. Initially, I encountered an issue where the page displayed raw code instead of the rendered site.
This wasn’t my first time facing this issue—it happened during my initial website launch too. The problem stemmed from some Hugo themes not being updated, causing compatibility issues. To fix it, I adjusted the deployment environment in the Vercel project settings:
- Name: HUGO_VERSION
- Value: 0.135.0
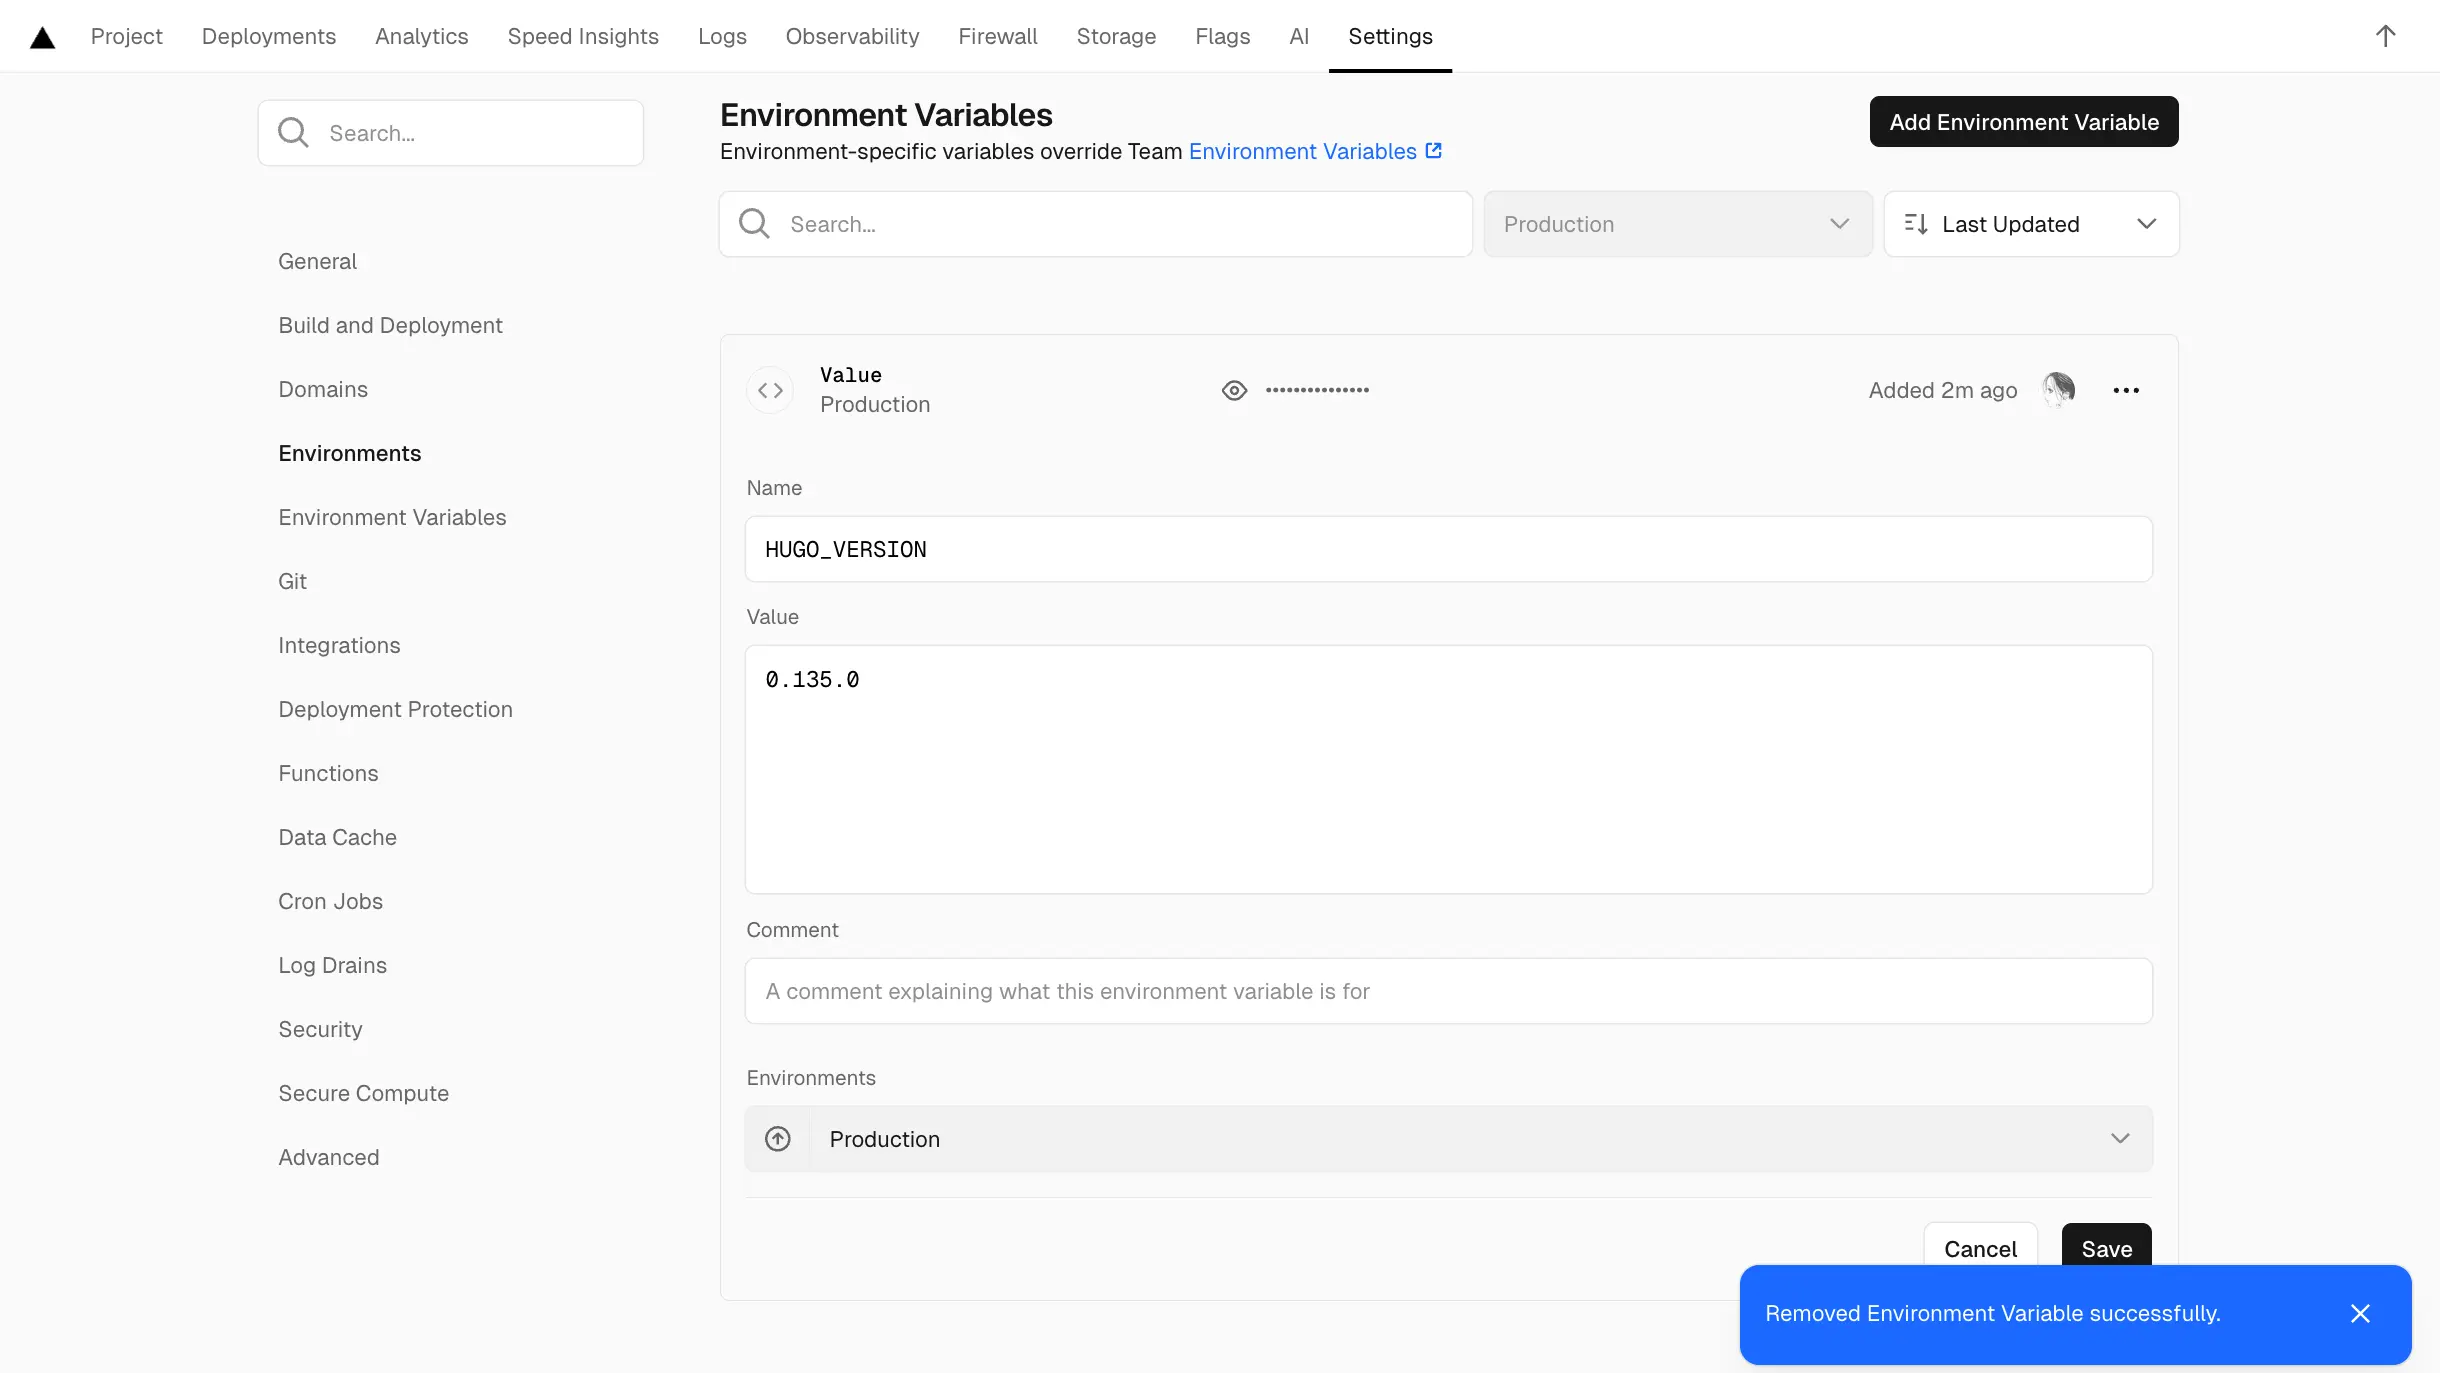
After updating, the temporary domain loaded correctly.
3. Binding the Domain
Once the temporary domain worked, I bound my custom domain to the new project:
- In the Vercel project settings, I navigated to the Domains section.
- Added my domain.
After binding, I tested the domain to ensure it loaded the new website correctly.
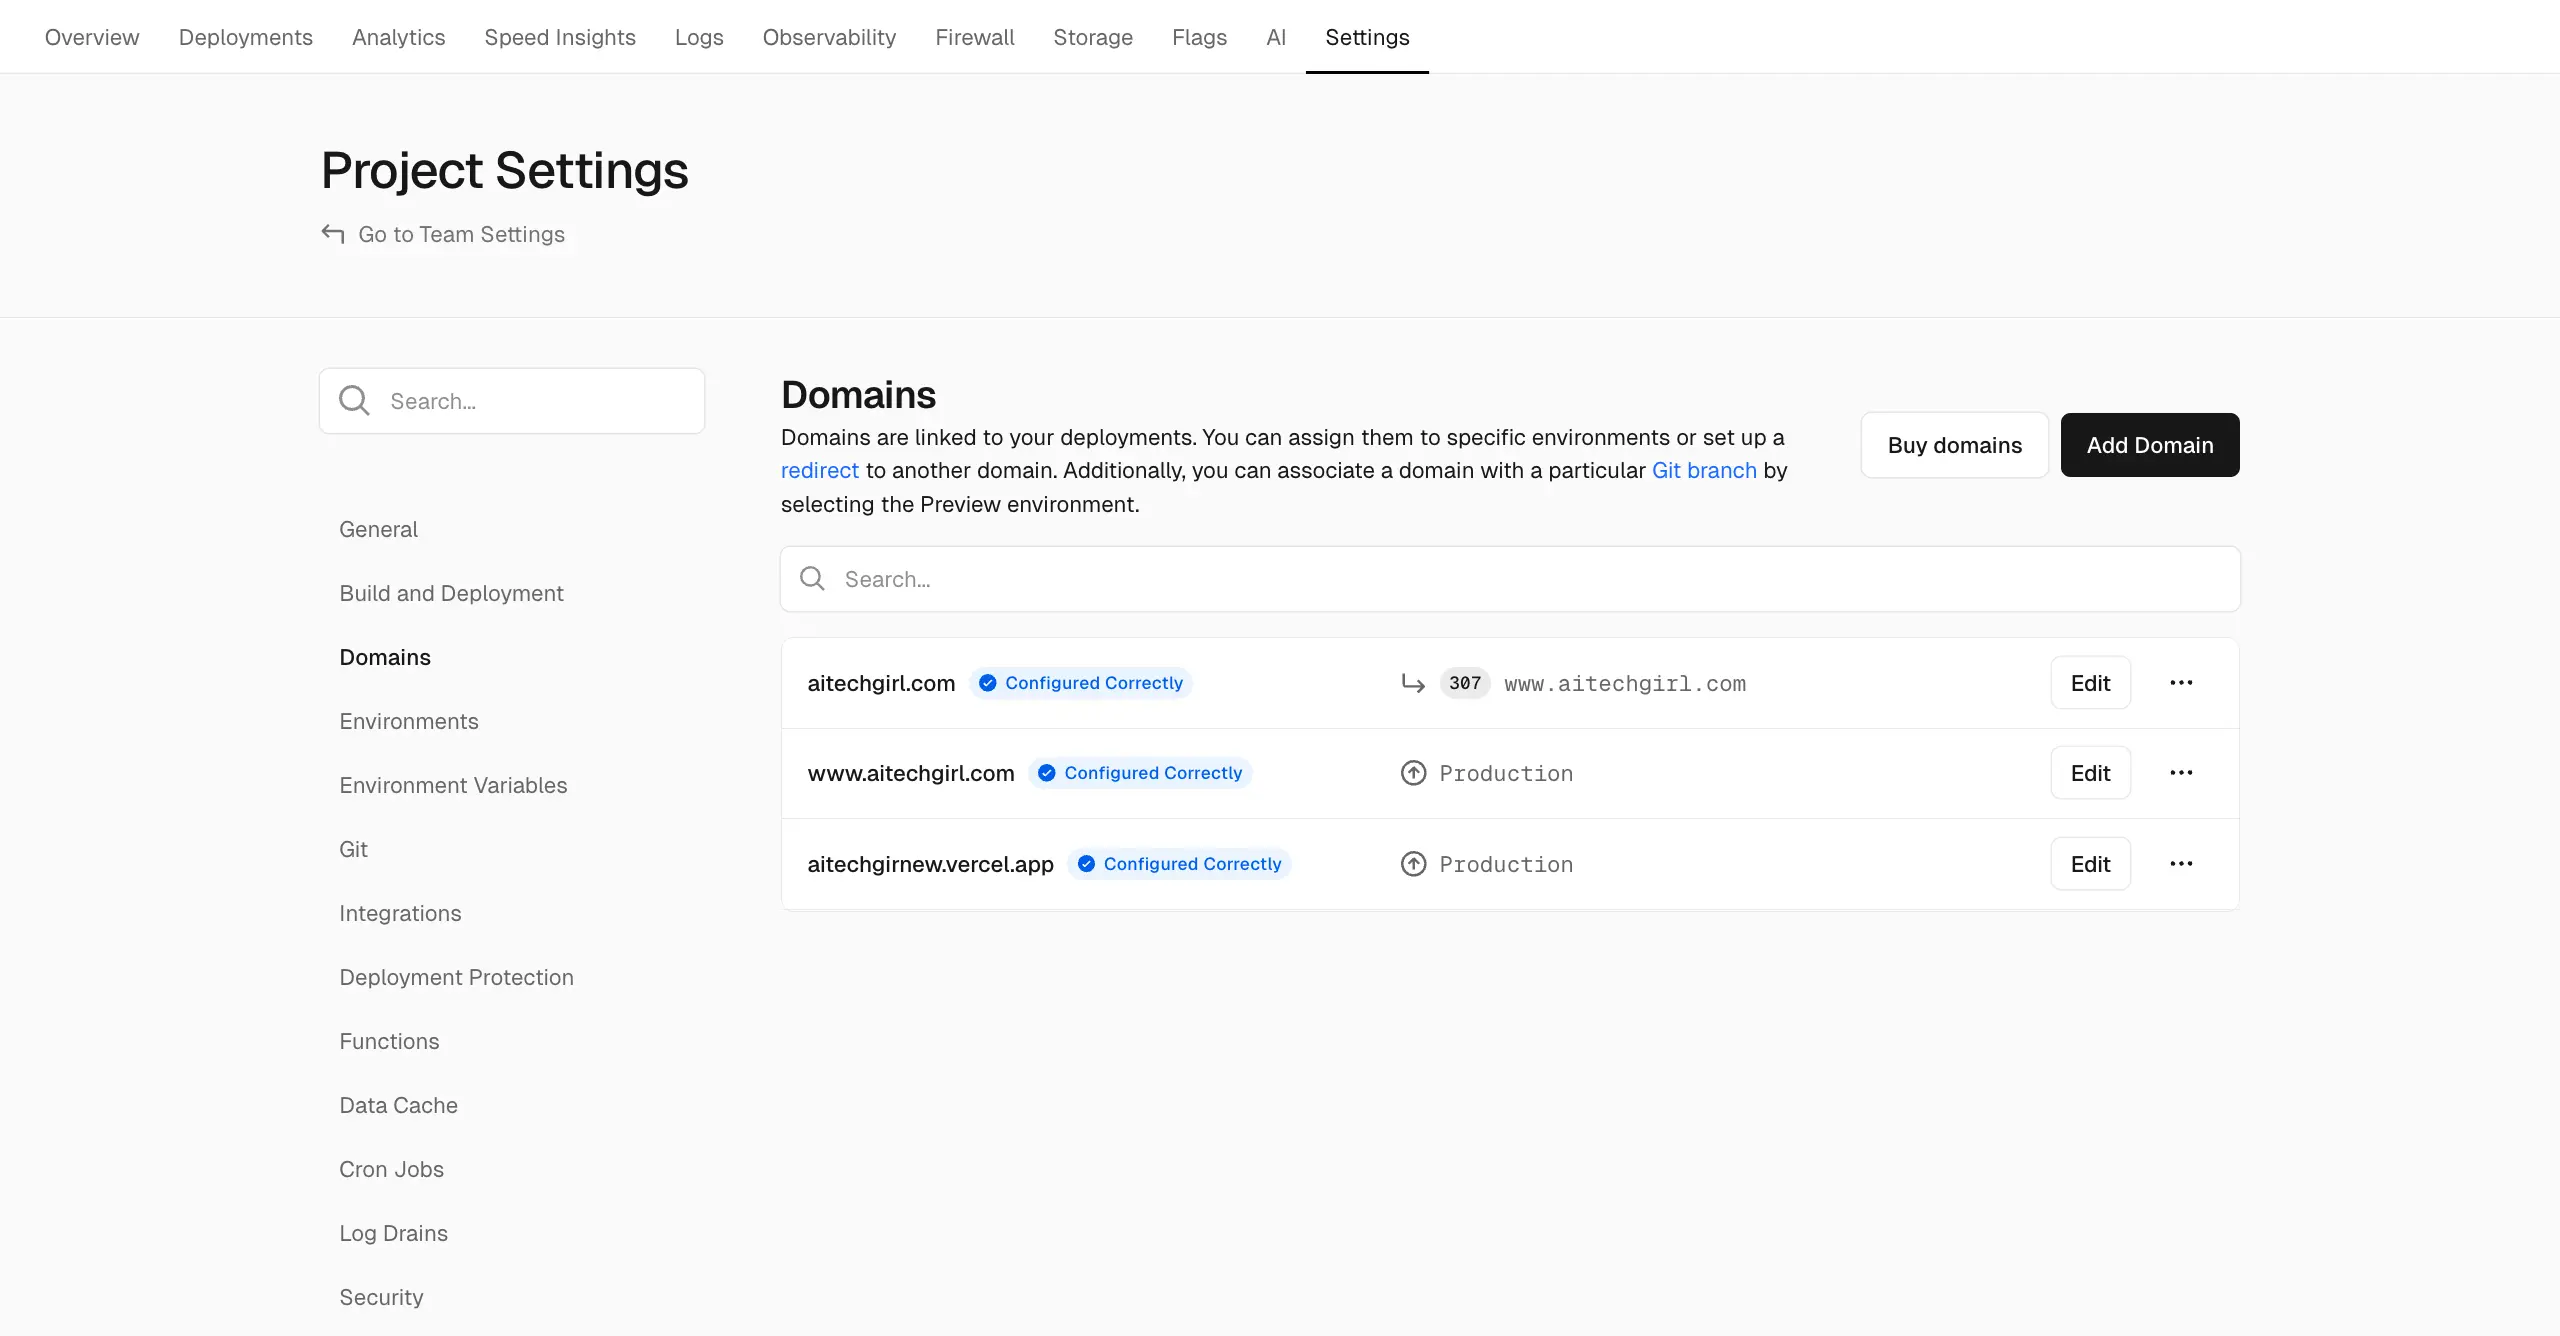
For first-time domain binding, you’d need to update the DNS settings with your domain provider to point to Vercel’s servers. The process is similar for subsequent updates.
Reflections
Revamping a website is a systematic process. Whether tweaking code or redeploying a new project, attention to detail is critical—code is a precise language, and a single mistake can break the site.
Having gone through this process once before, the second time felt much smoother. Hugo is beginner-friendly, and after a few tries, the workflow becomes intuitive.
That said, my naming convention—“aitechgirlnew”—was a bit clumsy. Most people probably don’t use “new” or “again” for version names. In the future, I’ll adopt a versioning system like “1.0” or “2.0” for clarity.
I hope my experience helps other beginners looking to build or revamp their personal blog websites!